Sunday, August 7, 2016

Classic Italian Tomato Bruschetta


We plant two tomato plants in our herb garden each summer, knowing we will be able to consume the number of fruits they will produce.  For the past five summers, every other day or so I would pull one or two bright red, vine ripened tomatoes ready to cut up into a salad or slice onto a tomato sandwich.  This year our tomato plants have grown to seven feet tall and each is producing two to three huge, bright red and juicy tomatoes daily. 

At one point, when I was overwhelmed with beautiful, ripe tomatoes, I sliced them onto a cookie sheet…actually it was several cookie sheets….drizzled them with olive oil and salt and baked them in a very hot oven for 30 – 40 minutes.  This created a thick, chunky and very rich paste that I kept in the refrigerator for over a month, scooping out several spoonfuls at a time to add richness to almost every savory dish I made.  When I was down to 1 cup of this mixture, I added it to the large pot of tomato soup I made last weekend and must admit….it was the best batch of soup to date.


Today, I’m making Classic Italian Tomato Bruschetta.  The word bruschetta actually refers to the preparation of the bread….sliced, toasted and seasoned with olive oil and garlic.  It isn’t always topped with tomatoes, but this is my favorite.

Ingredients:

Baguette
§     1 Baguette, cut into 1/2" thick slices
§     2 tablespoons olive oil
§     1 whole clove garlic

Tomato Mixture
     3 – 4 vine ripened, bright red tomatoes
§     1 – 2 cloves garlic, minced
§     2 tablespoons olive oil
§     2 tablespoons red wine vinegar (optional)
§     1/2 teaspoon kosher salt
§     1/2 teaspoon black pepper (optional)
§     6 – 8 fresh basil leaves, chiffonade
§     2 tablespoons olive oil

Directions:

To prepare the baguette, you can place the sliced bread on a broiler pan and lightly char the bread on each side under a hot broiler.  Watch carefully not to burn the bread.
 

I prefer to grill the bread on top of the stove. 


When lightly browned on both sides, rub each toasted slice with the cut end of a clove of raw garlic and drizzle or brush lightly with olive oil.  Don’t skip the step of rubbing the fresh garlic on the grilled bread.  It is so delicious and makes a big difference in creating the perfect bite.
 

The quality of this recipe completely depends on the quality of the tomatoes.  Get the ripest, juiciest tomatoes you can find.  If you cannot get tomatoes from a garden or farmers’ market, another option would be to use canned San Marzano Tomatoes from Italy.
 

Basil is one of those herbs I always have on hand.  During the spring, summer and fall, I have it in my garden.  During the summer when the plants are full, I chiffonade the leaves and freeze them in ice cube trays in chicken stock, olive oil and water.  If you don’t grow basil, when you go to the grocery store you can find it in small plastic bags in the produce department, but if you look around, grocery stores also sell small, fresh basil plants which is close to the same price as the bag but bigger and lasts longer. 

To chiffonade the basil, stack the basil leaves in a neat pile so they are curling upward.  This makes them easier to roll. 


Roll the basil leaves tightly like a cigar.  Using a sharp knife, slice the leaves into thin, evenly sized strips.
 

Prepare the tomato mixture at least one hour ahead of time so that all of the delicious flavors marry and blend nicely.  Chop the tomatoes, drain lightly and place into a bowl. 

Add minced garlic, olive oil, salt and pepper. Drizzle with red wine vinegar (optional).  Some people add balsamic vinegar to their bruschetta, however red wine vinegar is traditional and I prefer it because it doesn’t overpower the tomatoes.  Sprinkle with freshly chiffonade basil and toss lightly.


To serve, give the tomato mixture a final stir and then spoon generously over the slices of bread toasts or set it out in a bowl surrounded by bread toasts. 


For a printer friendly copy of this recipe, go to Classic Italian Tomato Bruschetta. Enjoy!

Sunday, July 3, 2016

Polenta with Corn and Roasted Tomatoes

I just returned from the Global DMC Partners Connection in Punta Cana, Dominican Republic, where I spent a week with friends and colleagues, many of whom are blog followers.  Trish from Las Vegas, a friend and follower, asked me to post a summer recipe....so this one is for you, Trish.  With the abundance of tomatoes, sweet corn and basil found in stores, gardens and farm stands all summer, this is a dish I make often.


Whether you choose chicken broth for a more savory flavor or milk for that creamy texture, I feel confident this will become one of your go to summer favorites.
 

Ingredients
§  1 pound tomatoes (I like to use Cherry or Campari tomatoes

§  2 – 3  tablespoons olive oil

§  2 cups water or chicken broth

§  2 ears of fresh corn

§  1/2 cup coarse corn meal or polenta

§  1/2 cup Parmesan cheese, grated

§  1/2 stick softened butter

§  fresh basil leaves

§  kosher salt

Note:
If using water, I suggest finishing off the polenta with 1/2 cup of whole milk or half and half to make it creamy.

Directions:
Preheat oven to 400 degrees F.
 

Line a sheet pan with parchment paper or aluminum foil.  Slice tomatoes and spread out onto the sheet pan.  Drizzle with olive oil and sprinkle with sea salt.
 

Roast in hot oven until browned.
 

Remove the corn off the cob. 


In a medium saucepan, heat chicken broth, 1 teaspoon of salt and corn cobs and bring to a boil.  I add the corn cobs and let the broth sit for a while to extract more corn flavor, but if you are in a rush, you can skip this step.
 

Over medium heat, slowly whisk in coarse corn meal while stirring constantly.  Cook until the polenta thickens.  This will take about 15 minutes.
 

Stir in the fresh corn, saving some for garnish.  Add grated Parmesan cheese and butter and remove from heat.
 

Top polenta with roasted tomatoes, reserved corn and fresh basil and serve immediately.  For a printer friendly copy of this recipe, go to Polenta with Corn and Roasted Tomatoes. Enjoy!


Note:
This recipe serves 4 people. You can double the recipe as I have done in the photographs.

Sunday, June 5, 2016

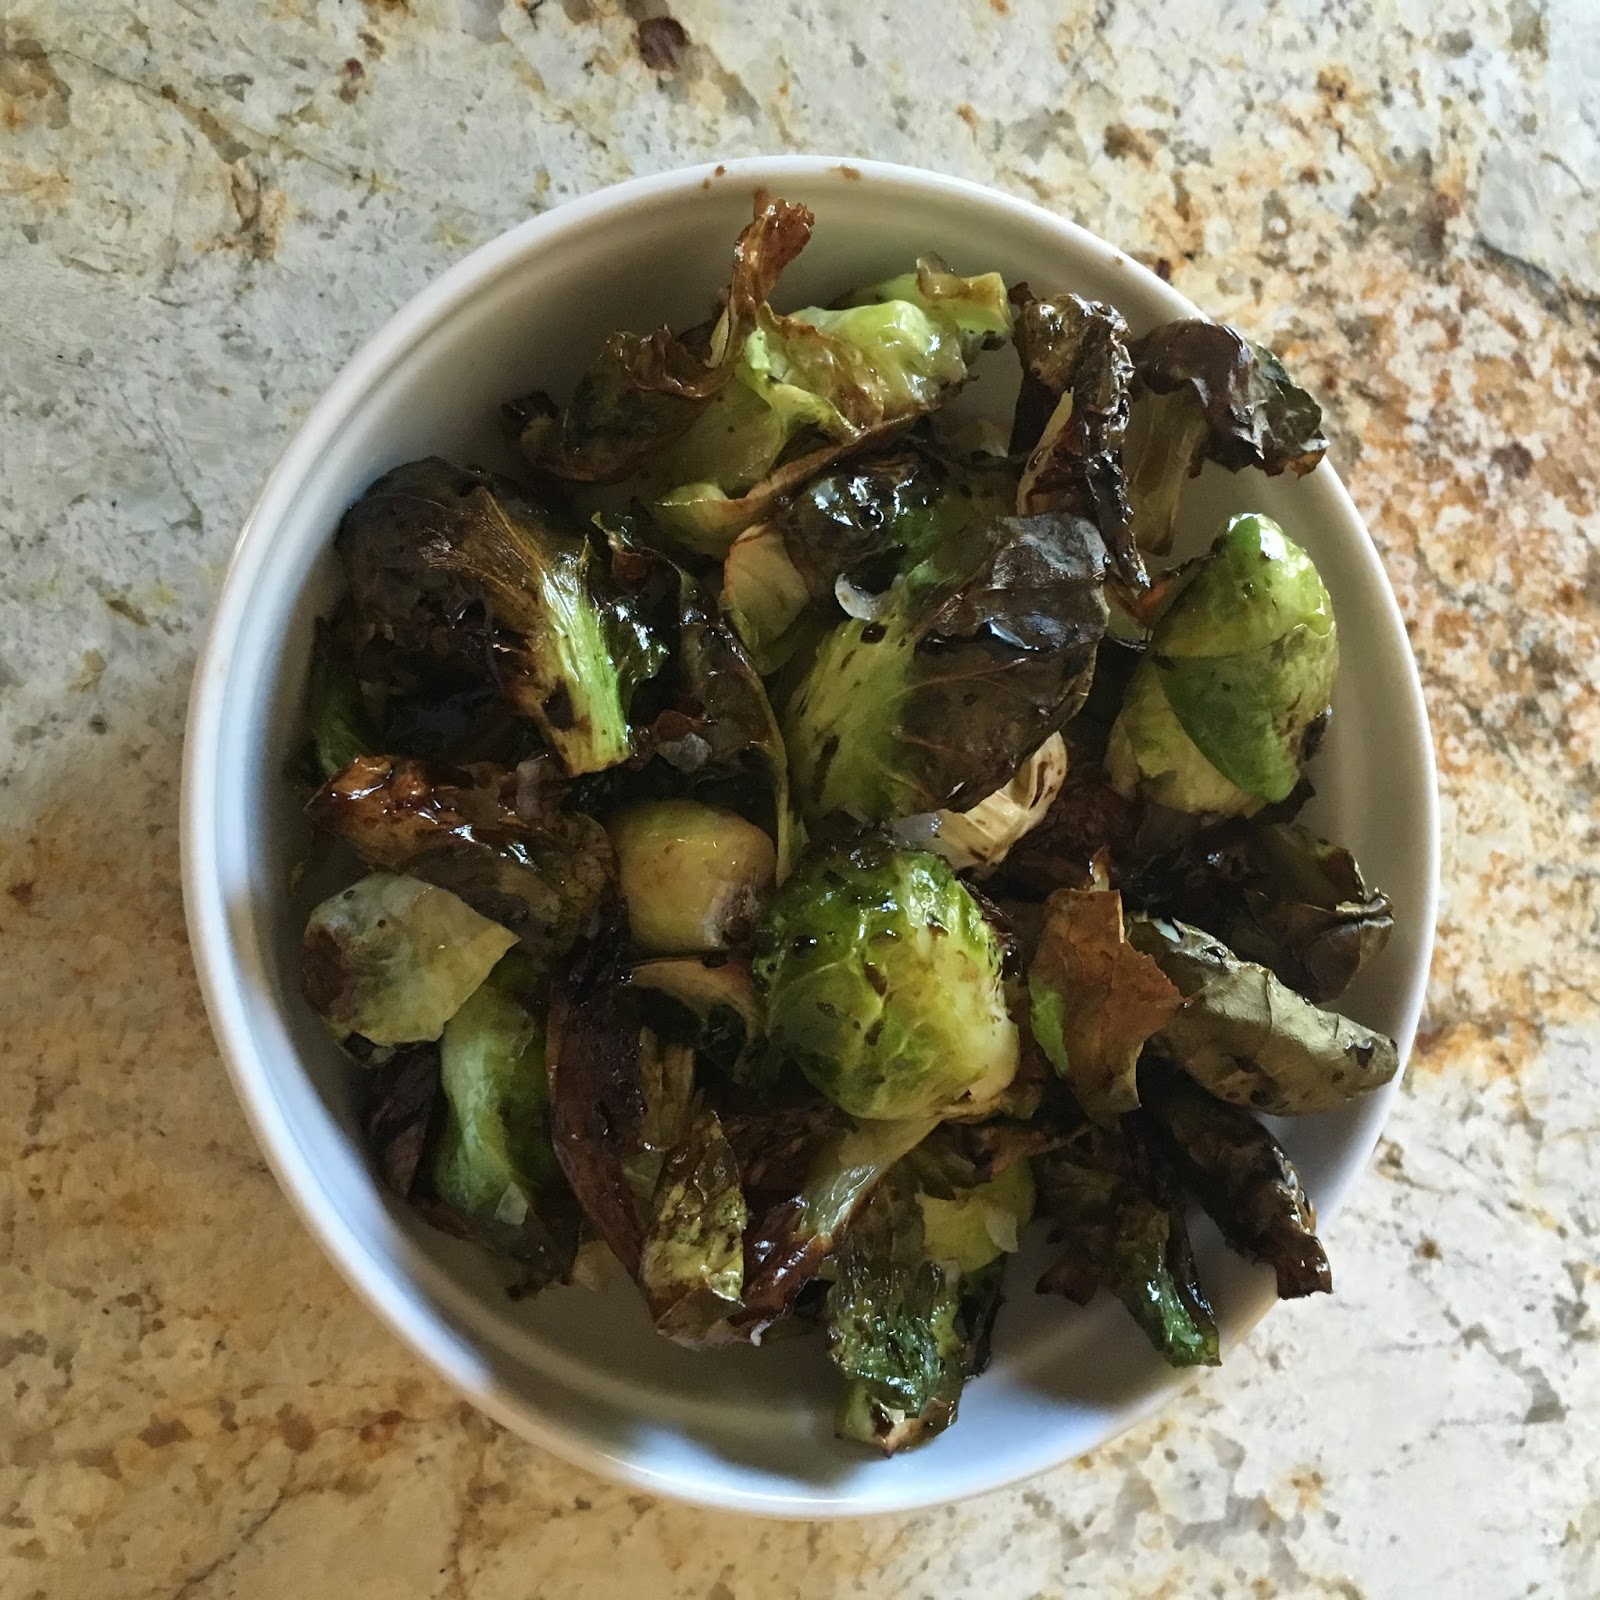
Roasted Brussels Sprouts with Balsamic Glaze

Growing up in the 70's, a bowl of Brussels sprouts at the dinner table brought fear and disgust to every kid I knew. The thought of over boiled mini cabbages haunted me until recently. Today thanks to roasting and charring, Brussels sprouts have become the Rock Stars of the veggie world.


Don't fret if they look burned.  It's the charred leaves that taste the best.  It may sound strange, but these are not only delicious but very easy to make. The Brussels sprouts should be brown with a bit of black on the outside when done. Any leftovers can be reheated or even just eaten cold from the fridge. I don't know how, but they taste sweet and salty at the same time!


Ingredients:
§  1 1/2 pounds Brussels sprouts
§  3 tablespoons olive oil
§  1 teaspoon kosher salt
§  1/4 1 onion, finely chopped (optional)

For Serving:
§  3 tablespoons balsamic vinegar glaze

Directions:


Preheat oven to 400 degrees F.  Cut off the stem end of the Brussels sprouts.  Remove and toss any yellowing outer leaves.  Cut each sprout in half and carefully remove any loose leaves.
 

Spread the loose leaves onto a sheet pan to create a bed for the Brussels sprouts. 


Place the Brussels sprouts into a large, microwave safe mixing bowl and heat in the microwave on high for 3 minutes.  This will reduce the cooking time and will not compromise the texture. Remove bowl from microwave and mix Brussels sprouts in a bowl with the chopped onion (optional), olive oil, salt and pepper. 


Add the Brussels sprouts to the leaves on the sheet pan and roast for 25 to 30 minutes, until crisp on the outside and tender on the inside.  Shake the pan from time to time to brown the sprouts evenly.
 

Some of the leaves may appear burned, but it's the charred leaves that taste the best.


Remove from oven and drizzle with balsamic vinegar glaze.  You can serve and eat immediately, but these Brussels sprouts hold well.  They can be prepared ahead of time and reheated in the oven or broiler.


Balsamic Vinegar Glaze:

To make balsamic vinegar glaze, pour 6 tablespoons of the vinegar into a small saucepan and heat until vinegar reduces by half and thickens.


For a printer friendly copy of this recipe, go to Roasted Brussels Sprouts with Balsamic Glaze. Enjoy!

Sunday, May 1, 2016

My Most Requested Recipes Collection

Several months ago I posted a collection of My Most Requested Recipes.  I recently learned that because of a distribution problem, many of you did not get the email linking you to the blog, so I made the decision to resend that post. My apologies to the few of you who did get the original email. 

With friends and family repeatedly asking for my recipe for Bacon Candy, I introduced this blog, My Most Requested Recipes, to share my most treasured treats. That first post attracted over 7000 views.  Now, 4 years, 4000 subscribers and a quarter of a million views later, I often receive emails requesting recipes I have previously posted. 

This month, in honor of our 4th anniversary, I’ve decided to do something a little differently. Below, for the benefit of those arriving late to the party, please find links to all of the mouth-watering recipes I have previously posted.  Beginning next month I will continue to post new and popular recipes.

Appetizers and Hors d’oeuvres
Soups
Sides
Breakfast
Entrées
Desserts
Cookies
Candy
Miscellaneous

Sunday, April 3, 2016

Walnut Shortbread Cookies

Since the Regent Diner closed its doors about five years ago, my brother, Art, has been unable to find another bakery who can replicate his favorite cookie.  On my visit to New Jersey last month, I hand carried a box filled with my latest attempt.  I couldn’t wait until we got home to have him taste the cookie, so I slipped one into his mouth on the ride home from the airport.  With eyes widening he said, “Not exactly like the Regent Diner cookie, but these are much better.”


Ingredients:

§  1 1/2 cups walnuts

§  1/8 teaspoon table salt

§  2 sticks unsalted butter, at room temperature

§  1 tablespoon vanilla

§  1/2 cup sugar

§  2 cups all-purpose flour

§  1/2 cup powdered sugar, plus more for serving


Directions:
 

In a food processor, finely grind 1/2 cup walnuts and salt.  Roughly chop the remaining 1 cup of walnuts and set aside.


In a bowl, beat softened butter and salt for 2 – 3 minutes until smooth.
 

Add the sugar and vanilla and beat for 2 minutes until light and fluffy scraping down the sides of the bowl. 


Add flour and mix just until combined well.  Add ground and chopped walnuts.
 

Divide the dough into thirds.
 

Wrap lightly in plastic wrap and roll each piece to form a log approximately 1" in diameter for smaller cookies or 1 1/2" for larger cookies. 


Wrap the logs tightly in plastic wrap and chill until cold, about 30 minutes or overnight.
 

To bake the cookies, preheat oven to 350 degrees.  Remove the cookie logs from the refrigerator and cut into 1/2" discs.  Place the discs onto a baking pan lined with a Silpat or parchment paper. 

Bake for approximately 15 minutes or until golden brown on the bottom and just pale golden on top.


Put powdered sugar into a bowl.  Cool the cookies for 5 minutes on the baking sheet.  Toss the warm cookies in the powdered sugar.  Transfer the sugar-coated cookies to a rack to cool completely.
 

Once cooled, store them in an airtight container.
 

Before serving, sift additional powdered sugar over cookies. For a printer friendly copy of this recipe, go to Walnut Shortbread Cookies. Enjoy!